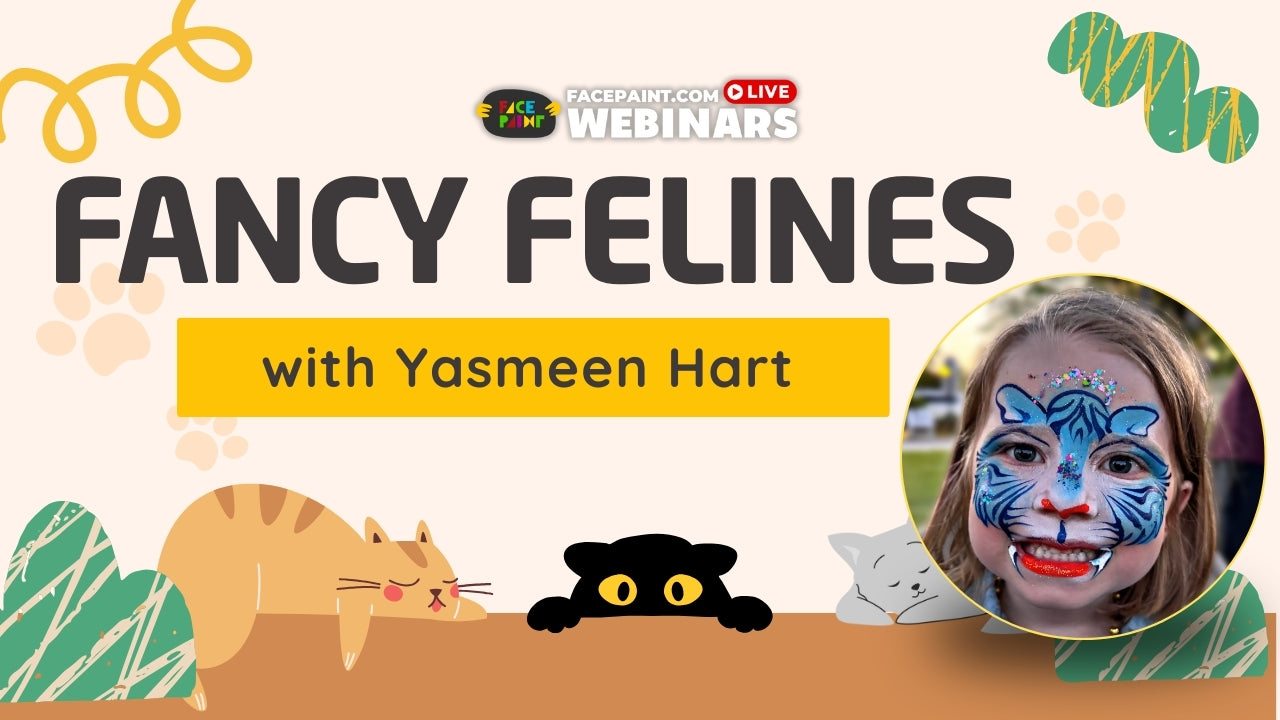
In this webinar, learn line work with Elaine Goh.
Design #1

So I'm just gonna load up with some Wolfe White and a size #3 Aliyah Round brush. I could just do it in white but I'm gonna add a bit of color to it. So I've just wiped the tip off a little bit almost using it like a double dip brush.
Do a lot of parallel lines. I guess it's a little bit tribal-ish. A lot of my designs always have that outline over the eyes as well. I think it looks very pretty and it frames the eyes. You don't wanna go too low. If you have to frame, always make it bigger on the top side than the bottom side. Keep it where the cheek focal points are.
The key to having symmetrical lines or designs is doing one thing on one side and then doing it on the other side. So this would be great for maybe masquerade adults. Kids are gonna love it too.
If you want to make it quicker, you can just leave the bottom out and just do the top. You can add some stencils, some glitter. You could add a few dots in here as well.
Design #2

So I'm gonna start off with Nat's ¾” Flat brush. I'm gonna use a split cake out of this Kraze palette. So the key to getting really nice, vibrant colors is to make sure that you activate it and you've got enough on your brush. So I'm just gonna mark my center point. It just makes sure that I got my area all symmetrical.
I'm gonna change my brush to a 1/2" Angle Aliyah brush.
So I'm going to use one of my new stencils [that I got made] from Topaz Stencils with a finger dauber. If you wanted to make it more vibrant, you can let it dry a little bit and then go over it again.
So I'm gonna go back to #3 Round again, load it up. Do thin to thick to thin lines, parallel lines but just halfway, swirls. Then I'm gonna do the internal parallel line. Everything's gonna meet down at the focal point.
My style is I like to do those double lines. Then we can outline the brows. And then we can put some dots around. I'm gonna do sort of like a lightning kind of movement. Thin to thick to thin, and then join it up.
If you want to, you can put a little small gem there, put a bit of glitter. All done.
Design #3

I'm just gonna use one of my one strokes. This time I'm gonna outline the eyebrows first. Add more color, a little leaf. Then I'm gonna use Lush (from Kraze Splash Palette).
I'm gonna do another stencil with a finger dauber.
Then I'm gonna do some outlines. I'm gonna outline that leaf [on the top] first. Thin to thick to thin lines, do the same on the other side. And I'm gonna just embellish this a little bit. Do little swirls, internal parallel lines. And then do little flicks.Can't ever have too many swirls.
We're gonna do some dots so I need to make sure I've got enough paint at the tip to make dots. Do a lot of those parallel lines again. That's my kind of thing. Then I'm just gonna do a few teardrops here. And then maybe leaves [on the corners of the eyes].
You can put a nice gem, some glitter, a bit of eyeshadow if you were that kind of artist. You can just leave it like this 'cause there's plenty of color there already. If you had time, you could always do extra bits. So that's it for that one!
Products Mentioned in the Webinar:
Aliyah #3 Round Brush
Wolfe White
Diamond FX White
Nat's Fancy Faces 3/4" Flat Brush
Kraze FX Lush
Kraze FX Splash Split Cake Palette
Aliyah 1/2" Angle Brush
Topaz Stencils Custom Stencils
Sally-Ann Lynch Practice Boards - Charlotte
Aliyah #4 Round Brush
If you missed the live webinar, you can watch it now in the video above or later on our YouTube channel. Thank you, Elaine, for sharing your talents with us! Thank you to everyone who tuned in to the webinar. Click here to know our upcoming webinars.
 FREE SHIPPING FOR USA ORDERS OVER $100


Leave a comment (all fields required)